
How to Plan Your Christmas Light Display: A Step-by-Step Guide
The holiday season brings the magic of twinkling lights and festive cheer, but for homeowners in Las Vegas, Phoenix, Austin, and Houston, designing and installing a stunning Christmas light display can be challenging. From the intense heat of desert cities to the unpredictable weather of Texas, proper planning and execution are key. While some homeowners may attempt to hang lights themselves, large installations or complex setups often require professional expertise to ensure a safe and impressive result. This guide from the expert Christmas light installers at Lights Up covers everything you need to know and helps you decide when it’s best to call in the pros.
Step 1: Evaluate Your Home’s Unique Characteristics
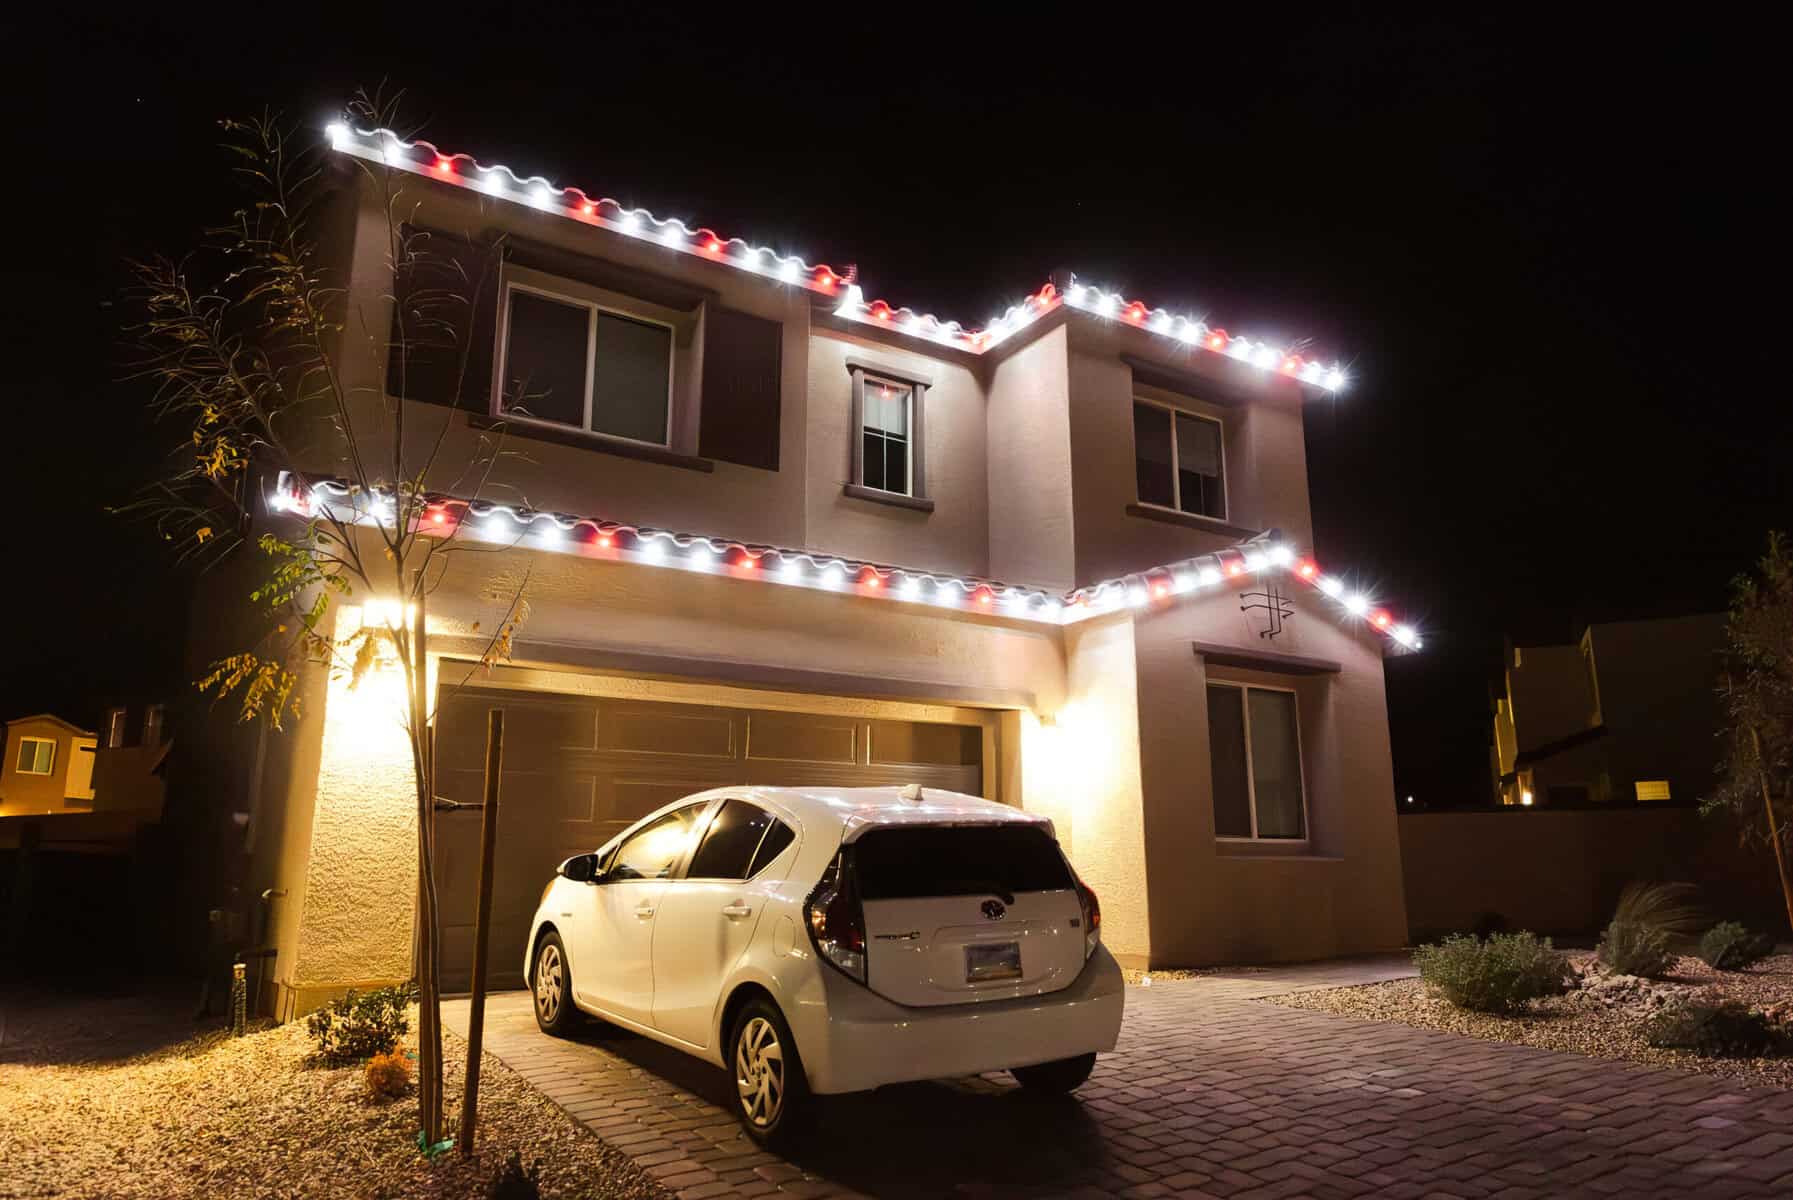
Understanding your home’s architectural features and environment helps you create a display that complements your property while standing out in your neighborhood. Consider how different elements like rooflines, gables, or landscaping might affect your overall design. For instance, homes with clay tile roofs in Las Vegas and Phoenix require specialized clips to prevent damage, while Austin and Houston homeowners need to account for high humidity and potential rain. By assessing these factors, you can anticipate challenges and plan accordingly, ensuring a safer and more attractive display.
Table 1: Geo-Specific Considerations When Hanging Christmas Lights
| City | Common Home Styles | Environmental Factors | Key Design Focus |
|---|---|---|---|
| Las Vegas | Modern, Southwestern, Mediterranean | Intense heat, dry climate | Rooflines, palm trees, clay tile safety |
| Phoenix | Stucco, Spanish Revival | High heat, occasional monsoon rains | Arches, stucco-safe mounting, desert plants |
| Austin | Craftsman, Modern Farmhouse | Humid, occasional freezing temperatures | Gables, porches, tree wraps |
| Houston | Ranch, Colonial, Contemporary | Humid, prone to rain and storms | Pathways, large yards, gutters |
Pro Tip: Take note of any delicate or hard-to-reach areas, like clay tile roofs or tall trees, that may require special equipment or techniques.
Step 2: Choose the Right Type of Christmas Lights
Selecting the right type of lights is crucial for both aesthetics and durability. Each lighting option offers distinct advantages, whether you’re looking for a traditional or modern look. For example, string lights are versatile and ideal for most applications but may tangle easily, requiring careful handling. Icicle lights add an elegant touch but can be fragile in windy conditions. Understanding these differences helps you avoid costly mistakes and ensures your display looks stunning throughout the season. Invest in quality LED lights, especially in hot climates, to save on energy costs and reduce fire risks.
| Light Type | Best For | Pros | Cons |
|---|---|---|---|
| String Lights | Rooflines, windows, trees | Versatile, easy to install | May tangle, requires precise placement |
| Icicle Lights | Roof edges, overhangs | Cascading effect, elegant | Fragile in wind, not ideal for high winds |
| Net Lights | Shrubs, bushes | Even coverage, easy to apply | Limited flexibility, not for large trees |
| Spotlights | Highlighting decorations, walls | Adds depth, dramatic effect | Needs careful positioning, power access |
| C9/C7 Bulbs | Large roof outlines, pathways | Bright, traditional look, durable | Can be hot, higher power consumption |
Safety Tip: Use LED Christmas lights for energy efficiency and to reduce fire risk, especially in hot climates like Las Vegas and Phoenix.
Step 3: Map Out Your Display Zones
Mapping out your display zones ensures a cohesive and balanced design. Start by dividing your home into key areas: rooflines, windows, landscaping, and pathways. Each zone requires a different approach; for example, rooflines highlight your home’s shape, while windows and doors add warmth and symmetry.
Pay special attention to landscaping—palm trees in Phoenix and Las Vegas can create striking focal points, while large oak trees in Austin and Houston offer a classic holiday look. Proper zoning helps you allocate resources effectively and prevents overcrowding or dark spots.
Focus on these primary areas:
1. Rooflines and Gables:
- Las Vegas & Phoenix: Use specialized clips for clay tiles to avoid damage.
- Austin & Houston: Secure lights with gutter hooks or clips to withstand humidity and rain.
- Pro Tip: Emphasize architectural lines, such as gables, to enhance your home’s shape.
2. Windows and Doors:
- Frame these areas with string lights or garlands.
- Tip: Adhesive clips work well but may not withstand extreme heat—consider professional-grade clips.
3. Landscaping and Trees:
- Palm Trees (Las Vegas/Phoenix): Wrap the trunks for a unique look.
- Large Oaks (Austin/Houston): Use tree clips and ensure even spacing for a balanced effect.
- Pro Tip: Net lights on bushes provide quick, uniform coverage.
4. Pathways and Driveways:
- Use stake lights or ground-level spotlights to illuminate paths safely.
- Safety Tip: Ensure wires are tucked away to prevent tripping hazards.
Step 4: Installation Essentials
Checklist for DIY Installation:
- Ladders and Safety Gear: Use a sturdy ladder and have a spotter.
- Clips and Fasteners: Avoid staples on stucco or clay tiles.
- Power Supply: Ensure outdoor outlets are GFCI-protected.
- Weatherproofing: Use waterproof extension cords and tape connections.
Why Call a Professional:
- High Rooflines and Tall Trees: Specialized equipment reduces risk.
- Complex Displays: Pros ensure lights are balanced and safely installed.
- Time and Stress: Professionals save you hours of planning and installation.
DIY installation can be rewarding but comes with risks and challenges. Before starting, ensure you have the necessary tools and safety gear, including a sturdy ladder and outdoor-rated clips. Plan your power supply carefully—overloading circuits can lead to outages or safety hazards. Remember, installing lights on high or hard-to-reach areas, such as clay tile roofs or large trees, requires expertise and specialized equipment. For these tasks, hiring professionals ensures a secure and polished result, reducing the chance of accidents and costly repairs.
Step 5: Testing and Maintenance
- Pre-Installation: Test all lights before hanging.
- Mid-Season Checks: Inspect for loose connections, especially after storms.
Testing your lights before and after installation saves time and prevents frustration. Check each strand for burnt-out bulbs and ensure all connections are secure. After the lights are up, conduct regular maintenance checks, especially after storms or heavy winds. This step is particularly important in areas like Houston and Austin, where weather can be unpredictable. By addressing minor issues early, you avoid larger problems later. Regular maintenance also prolongs the life of your lights and keeps your display looking flawless throughout the season.
When to Call Lights Up
While designing and installing your own Christmas light display can be fulfilling, it often involves more work than expected. Large installations, high rooflines, and delicate architectural features can pose significant challenges. Professional installers, like Lights Up, bring the necessary skills, tools, and experience to handle complex setups safely and efficiently. By hiring experts, you not only save time and reduce stress but also ensure your display is secure, durable, and visually stunning. Let Lights Up transform your home into a holiday masterpiece—contact us today for a free consultation!